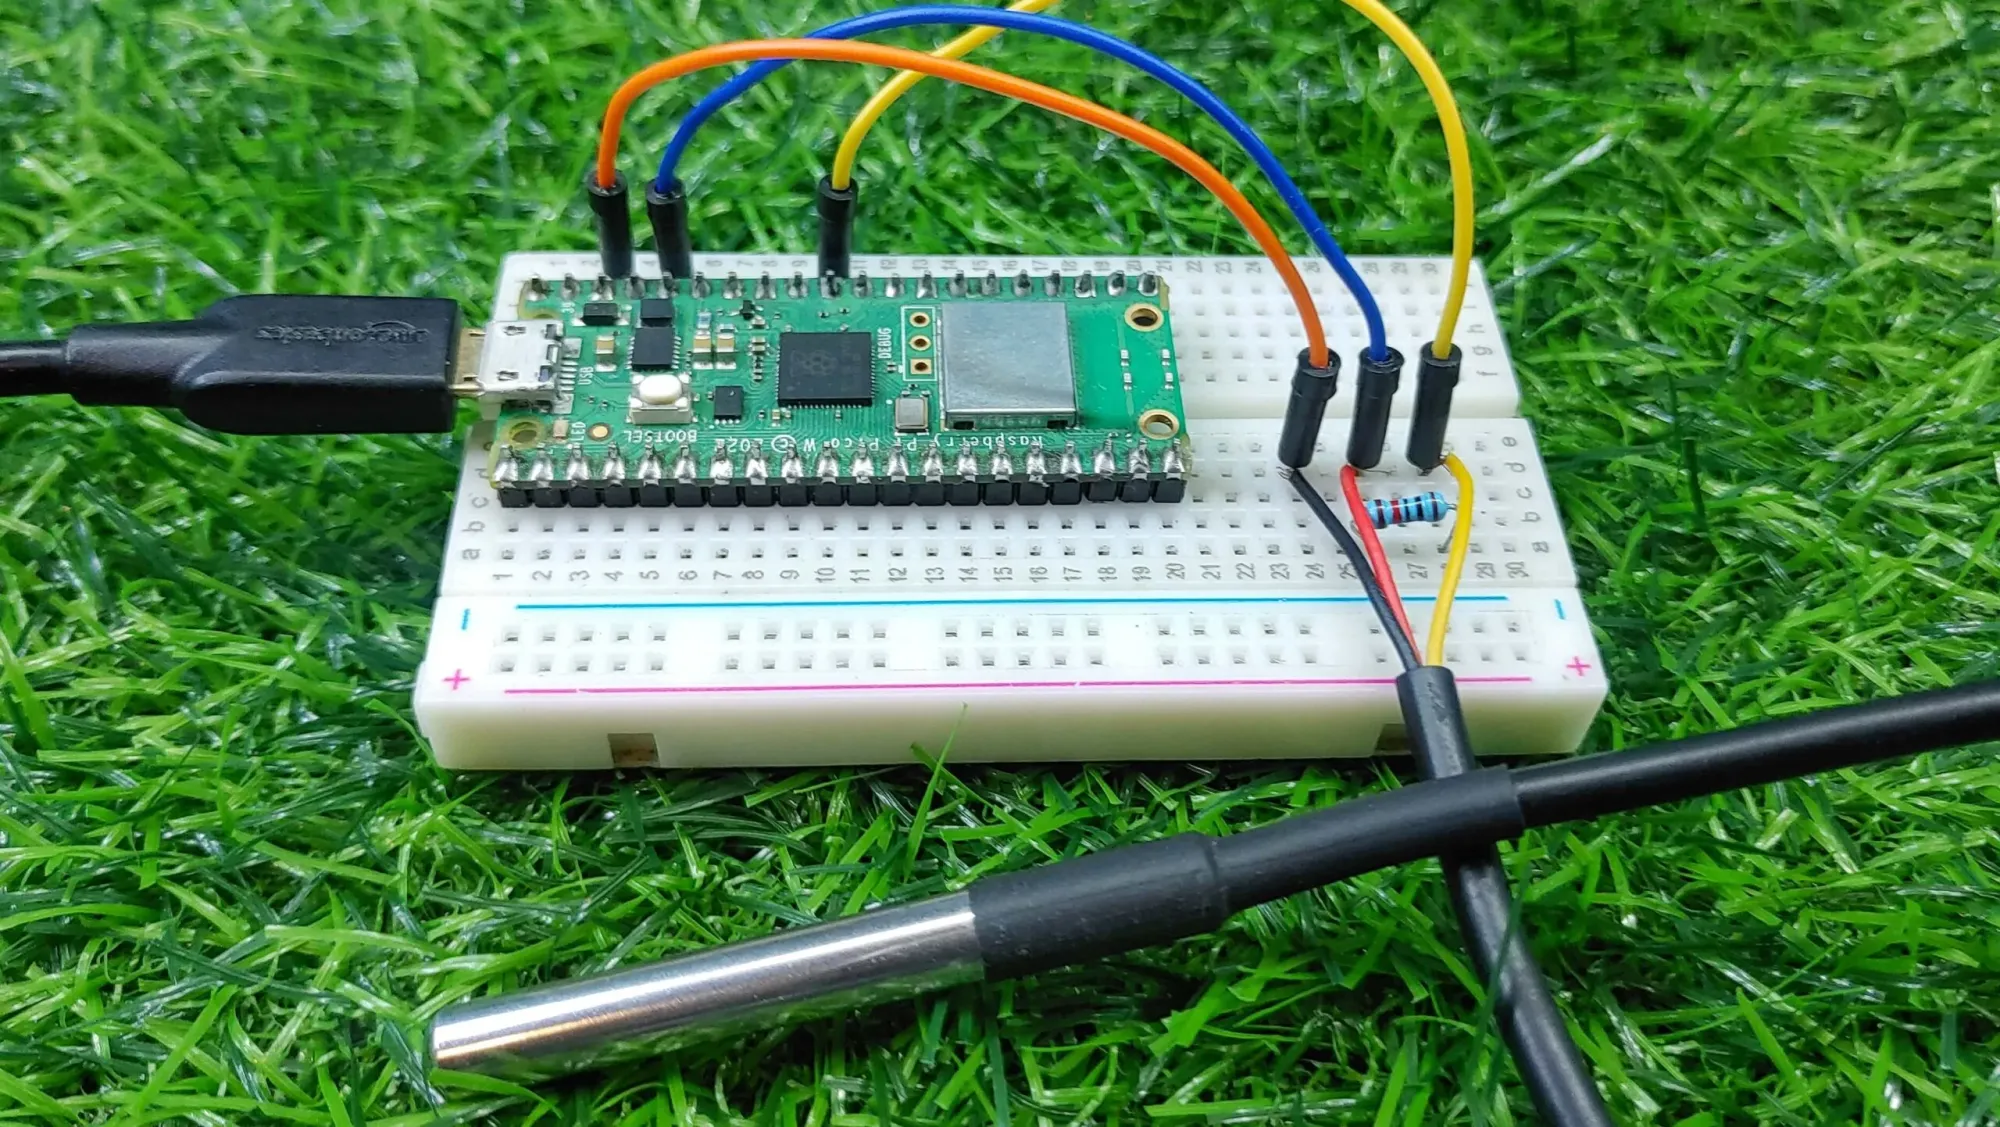
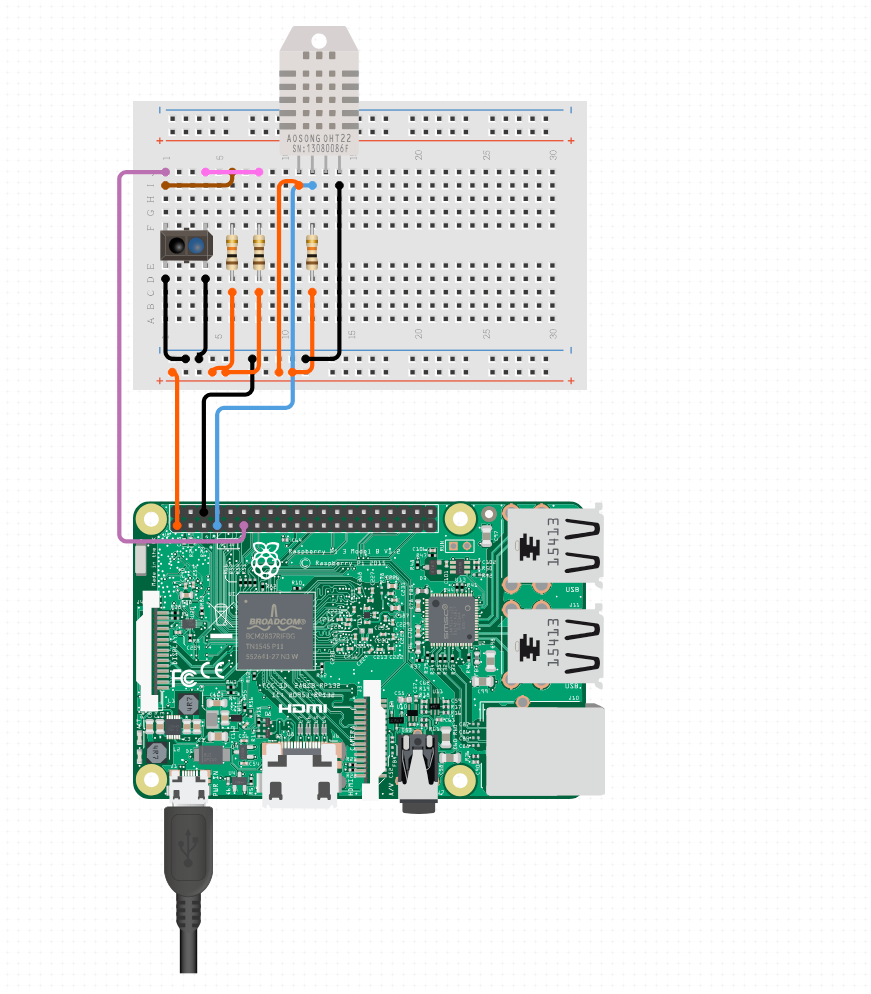
Temperature Sensor on a RaspberryPi

Stage 1: Buy the parts
- https://littlebirdelectronics.com.au/products/raspberry-pi-4-model-b-4-gb?srsltid=AfmBOoqT3RC3q_bGMFhvK6RIbb4JgoVNzBar5etBRj7jJ71FqGjt3ajw
- https://littlebirdelectronics.com.au/products/standard-lcd-16x2-extras-white-on-blue?pr_prod_strat=e5_desc&pr_rec_id=343d54447&pr_rec_pid=8812086690081&pr_ref_pid=8811427430689&pr_seq=uniform
- https://littlebirdelectronics.com.au/products/bme680-breakout-air-quality-temperature-pressure-humidity-sensor?_pos=3&_sid=ff8de53ca&_ss=r
- https://littlebirdelectronics.com.au/products/half-size-breadboard?_pos=8&_sid=b65ffdf50&_ss=r
Stage 2: Put it Together

Stage 3: Configure I2C and Install Smbus
Step 1: Enable I2C
The I2C interface in Raspberry Pi is disabled by default. You will need to open it manually and enable the I2C
interface as follows:
sudo raspi-config
Then open the following dialog box

Choose “5 Interfacing Options” then “P5 I2C” then “Yes” and then “Finish” in this order and restart your RPi.
The I2C module will then be started.
Verify whether the I2C module is started
lsmod | grep i2c
if the I2C module has been started, the following content will be shown. “bcm2708" refers to the CPU model.
Different models of Raspberry Pi display different contents depending on the CPU installed:

Step 2: Install I2C-Tools
Install I2C-Tools. It is usually available on the Raspberry Pi OS by default.
sudo apt-get install i2c-tools
I2C device address detection:
i2cdetect -y 1
When you are using the PCF8591 Module, the result should look like this:

Step 3: Install Smbus Module:
sudo apt install python-smbus
sudo apt install python3-smbus
Stage 4: The code
Temperature python Script:
from PCF8574 import PCF8574_GPIO
from Adafruit_LCD1602 import Adafruit_CharLCD
import bme680
from time import sleep, strftime
from datetime import datetime

try:
    sensor = bme680.BME680(bme680.I2C_ADDR_PRIMARY)
except (RuntimeError, IOError):
    sensor = bme680.BME680(bme680.I2C_ADDR_SECONDARY)

sensor.set_humidity_oversample(bme680.OS_2X)
sensor.set_pressure_oversample(bme680.OS_4X)
sensor.set_temperature_oversample(bme680.OS_8X)
sensor.set_filter(bme680.FILTER_SIZE_3)

def loop():
    mcp.output(3,1)
    lcd.begin(16,2)
    temp = 'Temp: {0:.2f}'.format(sensor.data.temperature)
    humidity = 'Humidity: {0:.1f}%'.format( sensor.data.humidity)
    while(True):
        #lcd.clear()
        lcd.setCursor(0,0)
        lcd.message(temp + chr(223) + "C \n")
        lcd.message(humidity)
        sleep(30)
        lcd.clear()

def destroy():
    lcd.clear()

PCF8574_address = 0x27
PCF8574A_address = 0x3F

try:
    mcp = PCF8574_GPIO(PCF8574_address)
except:
    try:
        mcp = PCF8574_GPIO(PCF8574A_address)
    except:
        print ('I2C Address Error !')
        exit(1)
# Create LCD, passing in MCP GPIO adapter.
lcd = Adafruit_CharLCD(pin_rs=0, pin_e=2, pins_db=[4,5,6,7], GPIO=mcp)

if __name__ == '__main__':
    print ('Program is starting ... ')
    try:
        loop()
    except KeyboardInterrupt:
        destroy(
Step 2: Script to Auto-start
#!/usr/bin/bash

log='/opt/projects/rack-temp/logs/rack-temp.log'
activate='/opt/projects/Code/bin/activate'
script="/opt/projects/rack-temp/display-temp.py"

source $activate
python $script >> $log 2>&1
deactivate
Stage 6: Auto-start on boot
Service File in /etc/systemd/system/ name it something liketemp-sensor.service
[Unit]
Description=Start Rack Temperature Monitor

[Service]
ExecStart=/opt/projects/rack-temp/script/start-temp.sh

[Install]
WantedBy=multi-user.target
